11 easy things you can do to improve your bird ID
Picture this. You’re taking your new binoculars out for a spin around your local wetland and you find an interesting looking bird. It’s not one you’ve seen before. But in the back of your mind you think you might have seen it in a book. Or it’s got some features you at least recognise from another birding outing.
It’s a tricky situation that many of us have been in and it can be frustrating. But by learning some basic bird ID techniques, you’ll soon grow in confidence and accuracy.
Here’s our guide to get you that successful bird ID.
1. Open your eyes
Get yourself to a wetland, preferably somewhere you have a good view out on to a wide range of species. A viewing platform, bench or hide is a good start. Here, you can stay still and allow the birds to come into view.
Take a moment to visually explore the habitat from where you are and take-in the different birds. You might not initially see much more than the larger birds on the water.
Be sure to take a good look amongst the reeds, on the willow branches and along the water’s edge. Look closely and you may well see birds that you hadn’t seen before. You won’t be able to ID a bird unless you know it is there!
2. What habitat is it in?
Many wetland birds will usually spend most of their time within a definite type of habitat. Warblers and buntings will usually be within vegetation, perhaps perched up and singing. Birds of prey such as osprey and hobby will be most likely seen hunting on the wing. Ducks, geese and swans are usually seen on more open water or loafing on the edges.
Getting to know where birds are most likely to spend their time will help you close-in on that ID.
3. Think about season and normal distribution
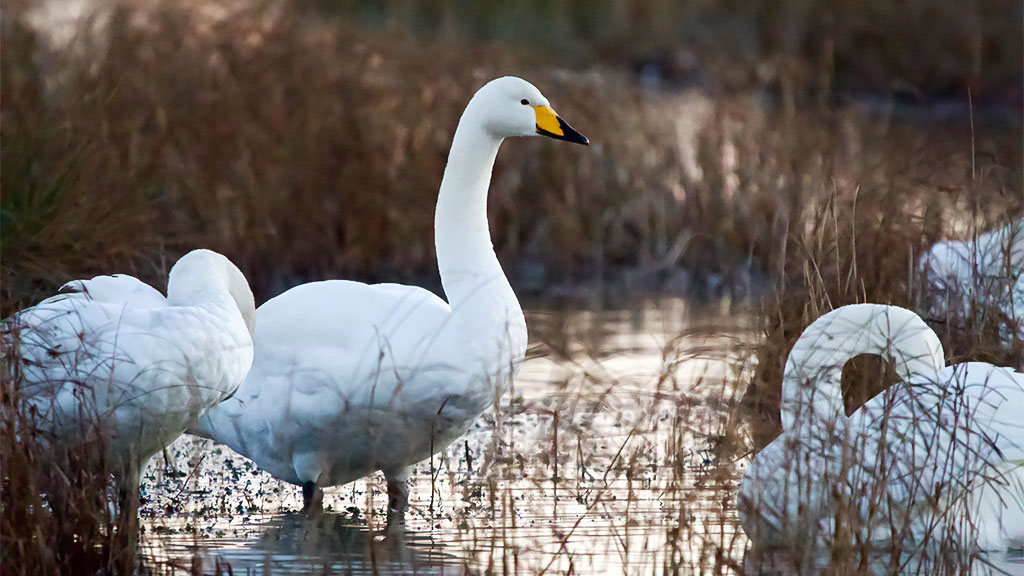
This will allow you to narrow down the options even further. Scrub-up on your knowledge of where a species will likely turn up and when. That’s especially important for those migratory species. For example, seeing a sand martin in the depths of winter would be very unlikely, as would a Bewick’s swan in high summer.
4. General impression, size and shape
Often pronounced ‘jizz’, this is a useful acronym to remember, especially if you have a fleeting view of the bird and need to quickly categorise your thoughts.
What was your overall impression? Large or small? How long was its tail, its wings, its bill? What colour was it? How does it fly? What was its posture?
The physical impression that this gives you of a bird will likely enable you to at least place it within a family.
For example, your bird might have the jizz of a wader, but you’ll likely need further details to work out the exact species.
5. How's the bird behaving?
Bird movement can often hold vital clues for ID.
What’s it doing and how does it move? Is it a small bird that’s part of a larger flock, like a dunlin? Or is it spending time on its own like a grey heron? Is it skulking nervously and staying close to the reeds like a water rail? Or is it bold and out in the open, like a mute swan?
What size and shape is it compared to other birds? Is it small and perching, like a warbler or a bunting? Is it larger and wading through the water, like a heron?
Does it have a distinctive flight pattern? Does it fly straight as an arrow like a kingfisher, or does it fly low and unhurried like a marsh harrier?
How was it feeding? Sifting through the water with a long bill like a redshank, or diving under, fully submerged like a tufted duck?
Most birds will show some behaviour that is at least unique to their family, so will quickly narrow down your ID choice.
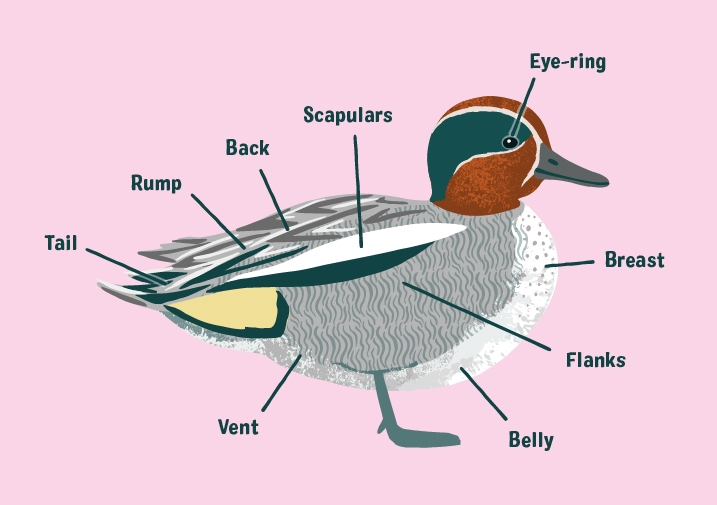
6. Learn the parts of a bird
So you’ve narrowed things down by looking at the behaviour, habitat, size, colour and shape, but you need a little more information to clinch the final ID. This is where knowing your plumage or field marks comes in handy.
It may seem like learning a new language at first, but don’t worry. Once you’ve got to grips with it, learning bird ‘topography’ can really help.
It’ll also allow you to communicate what the parts of the bird looked like clearly to other birders and it’ll help when you’re referring to an ID guide book.
Getting to know the basic parts of ducks and geese is an ideal starting point, as they’re relatively large and easy to see. Here, we look at a drake Eurasian teal.
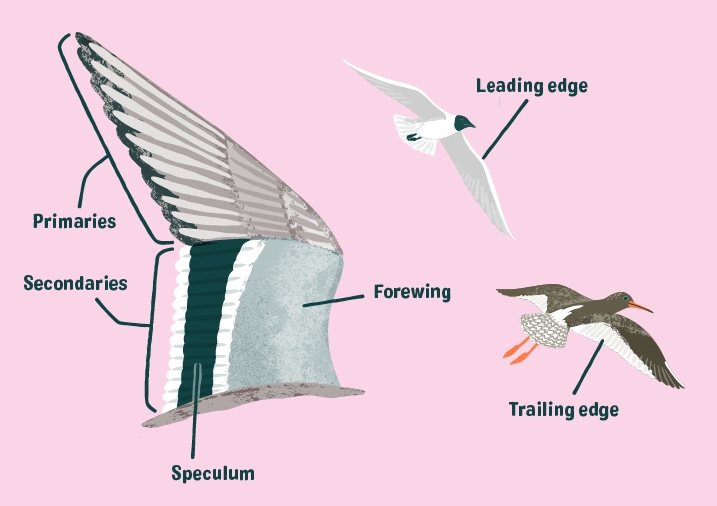
Wing patterns are another key identifying feature for many wetland birds. They can often point to just one common species in a group. For example, black-headed gulls are the only UK species of gull to show a white leading edge to the wing in all plumages. Similarly, redshank are the only wader species to show a white trailing edge.
A speculum seen on the wing of a duck points to it being a dabbling duck (genus Anas, drake garganey illustrated below), and not a diving duck (genus Aythya).
For smaller birds that you’ll hopefully be seeing up close, learning the head patterns can be vital.
Many small wetland birds such as warblers and buntings can look like they’ve got similar markings, but they're easy to tell apart, once you know what you're looking for.
For example, sedge warblers (illustrated below) show a distinct crown, supercilium and eye stripe. Whereas reed warblers don’t. Both are found in similar habitat.
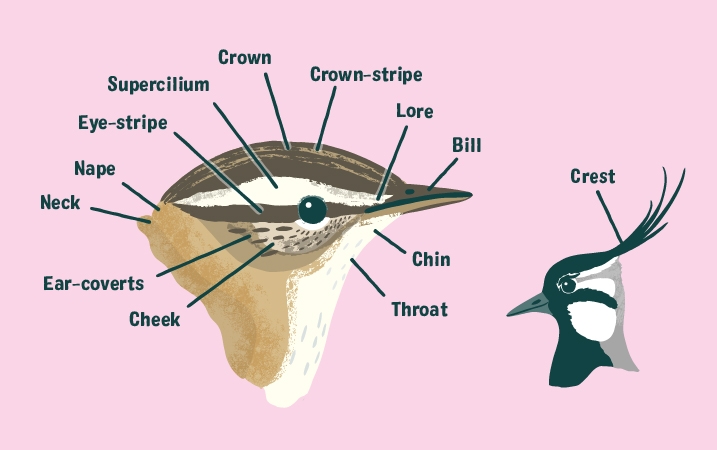
Take note of unique features on birds to enable immediate identification, like the crest of a lapwing.
Be sure to learn the features of the common birds first. You’ll then be able to use them as a yardstick to identify the features of a bird you’ve not seen before.
Whether you’re out birding on your own, or with a more experienced friend you can ask for help, or will have the opportunity later that day to refer to an ID guide book, being able to visualise and describe the bird features will help you a lot.
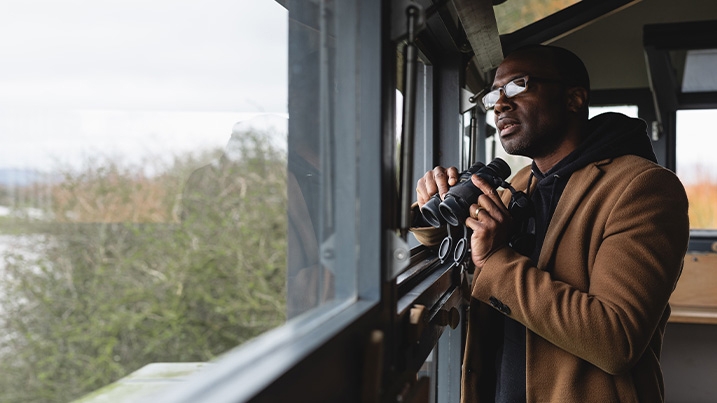
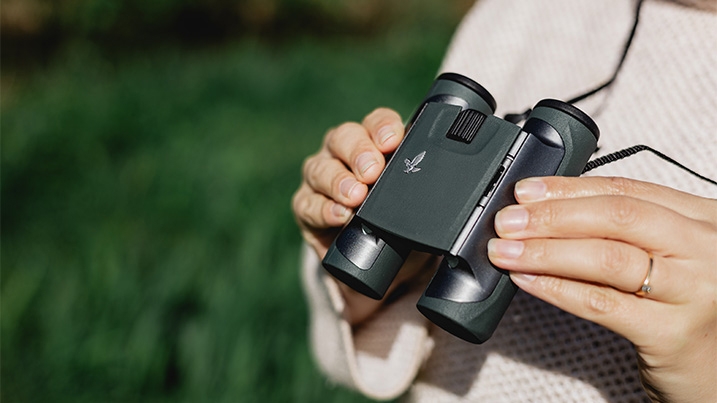
7. Get yourself a pair of binoculars
The best way to get a good look at your bird is to use optics. You don’t need an expensive pair of binoculars. Look for something lightweight and portable as this’ll mean you’ll be able to pin-point your sighting in a matter of moments.
There’s a wide range of products out there for all budgets, from the SWAROVSKI OPTIK - CL 8x25 Compact and lightweight binocular or Viking Peregrine 8x42, right up to something like the SWAROVSKI OPTIK NL Pure.
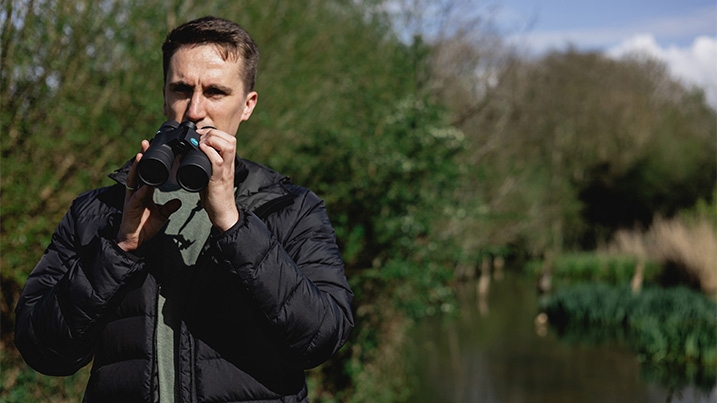
Don’t forget to play around with your new binoculars. It can be challenging to begin with to transition from spotting a bird with the naked eye to then seeing it magnified without losing track of it. So practise getting your binoculars in focus. You could do this at home, spotting wildlife through the window.
8. Try out a telescope
If you’re planning on scanning through many distant birds, using a telescope can come in very handy and give you a lot more zoom than binoculars. Something like the Viking Swallow 65mm is a great starting point, whilst the SWAROVSKI OPTIK ATS 65mm represents a step up in optical quality.
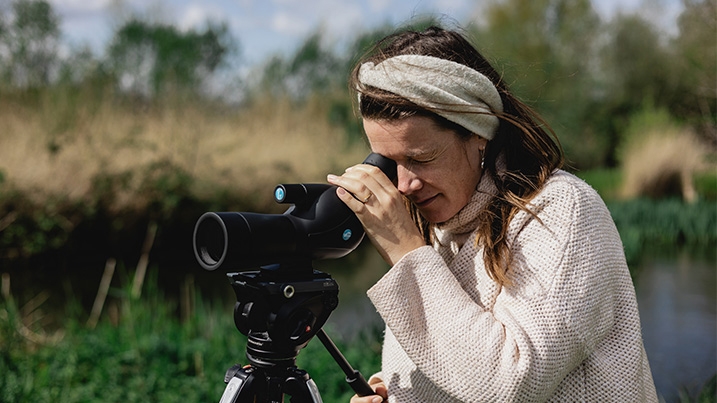
You don’t have to use them on birds that are really far away though. Looking at a closer bird in the telescope can reveal fine details. It can also give you the chance to learn identifying features that’ll come in handy next time you see it more distantly.
Watch our video to learn more on how to use optics equipment for birdwatching and what gear might be best for you:
9. Open your ears
So you’ve nailed the visuals. The next step is to focus on bird calls and songs, as they’re incredibly helpful to learn. Once you know them, they’ll instantly allow you to identify birds even when you can’t see them.
Why not download the Collins Bird Guide app to your phone? It holds bird call audio files for most species, allowing you to check that the call you heard is the species you thought it was.
Likewise, Xeno Canto is a free to use audio library of bird audio recordings. Our wetland bird calls blog is another good place to start.
Modern technology can help you go one step further than simply playing back a recording. The Merlin Bird ID App will give you a species ID, even if you can’t see it. It can, with AI help, listen to the bird call and immediately tell you what the bird is. This can be really useful for building your own knowledge of bird songs and calls.
10. Read around your subject
When you’re not out birding, take the chance to dive in to in-depth articles on a range of species will help you to expand your knowledge.
11. Practice makes perfect
The best learning tool of all is your own brain. Getting out birding as regularly as possible is key. The more you see and hear and the more you successfully ID, the easier it will be for you to remember that bird for next time.
After every outing, write down what you’ve seen and consult a bird ID guide to cement your knowledge. Be sure to get familiar with your guide book. Leaf through it when you’ve got a quiet moment and take the time to look at illustrations and descriptions.
By looking through it at home, you’ll be able to skip to the right page when you are out in the field, pulling it from your pocket and finding your bird on the page.
And remember, even experts who’ve been birding for years can still be challenged by the occasional bird. But that’s half the fun with birding. You’re always learning something new. And there’s always the chance you’ll see something you’ve never seen before.
If you’ve been inspired to improve your bird ID, why not visit one of our wetland centres to get up-close to our wetland birds. Our friendly volunteers are always ready to help direct you to the best places to look for birds, whilst ‘Guide in the Hides’ can help you with ID in-situ.
And while you’re there, take a look in our shops and treat yourself to a new pair of binoculars from our fantastic range.
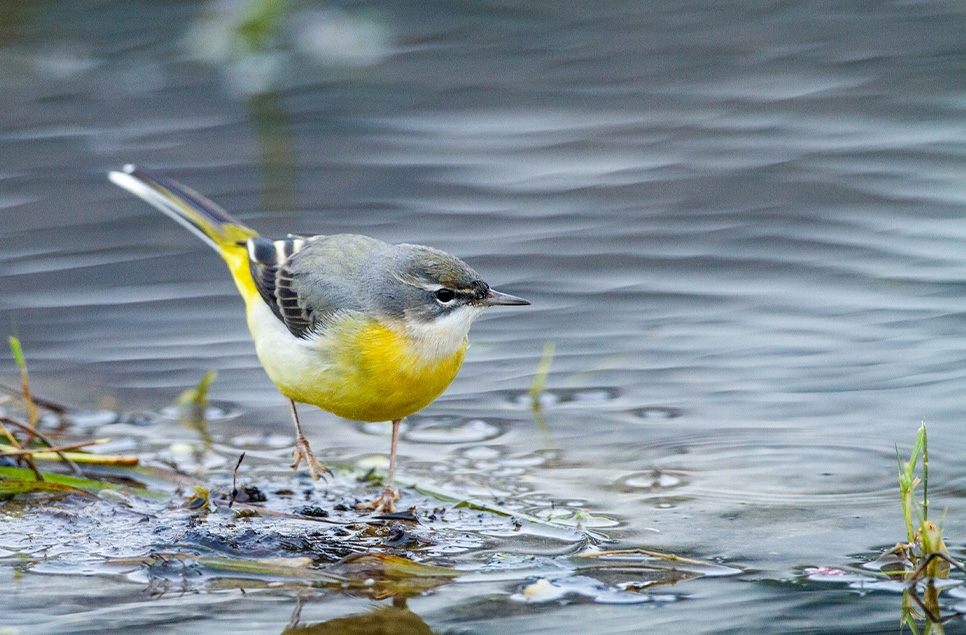
Plan your visitHeader image: grey wagtail, a wetland bird that can present an ID challenge.
© Images Shutterstock/WWT/Carys-ink.com